Disclosure: This article may contain affiliate links. As an Amazon Associate, we earn from qualifying purchases. Some content may be created with the assistance of AI tools.
How to build a DIY workshop
Key takeaways
- Choose a suitable location for your workshop, ensuring plenty of natural light and space.
- Gather essential power tools and equipment for your projects.
- Implement proper safety measures and organize your space effectively.
- Consider multi-functional furniture to maximize efficiency.
- Regularly maintain your tools and workspace for optimal performance.
Creating a DIY workshop at home not only serves as a creative space for your projects but also enhances your skills as a DIY enthusiast. Whether you are a seasoned contractor or a beginner, taking the time to build an efficient workshop can make all the difference in your crafting and repair needs. In this guide, we’ll walk you through the essential steps to set up a functional DIY workshop tailored to your requirements.
Step 1: Choosing the Right Location
The first step in building your workshop is to find the ideal space. Consider the following:
- Natural light: A well-lit area helps reduce eye strain.
- Size: Ensure you have enough room for tools and projects.
- Accessibility: Choose a location that is easy to reach and has adequate ventilation.
Step 2: Essential Tools and Equipment
Equip your workshop with the right tools to tackle various projects. Below is a comprehensive list of essential power tools you should consider:
| Tool | Purpose |
|---|---|
| Cordless Drill | For drilling holes and driving screws |
| Angle Grinder | For cutting, grinding, and polishing |
| Portable Saw | For making straight and curved cuts |
| Multi-Tool | For sanding, cutting, and scraping in tight spaces |
| Impact Driver | For driving large fasteners with ease |
Investing in high-quality tools will pay off in the long run. For more information on specific tools, check out our cordless drills and angle grinders categories.
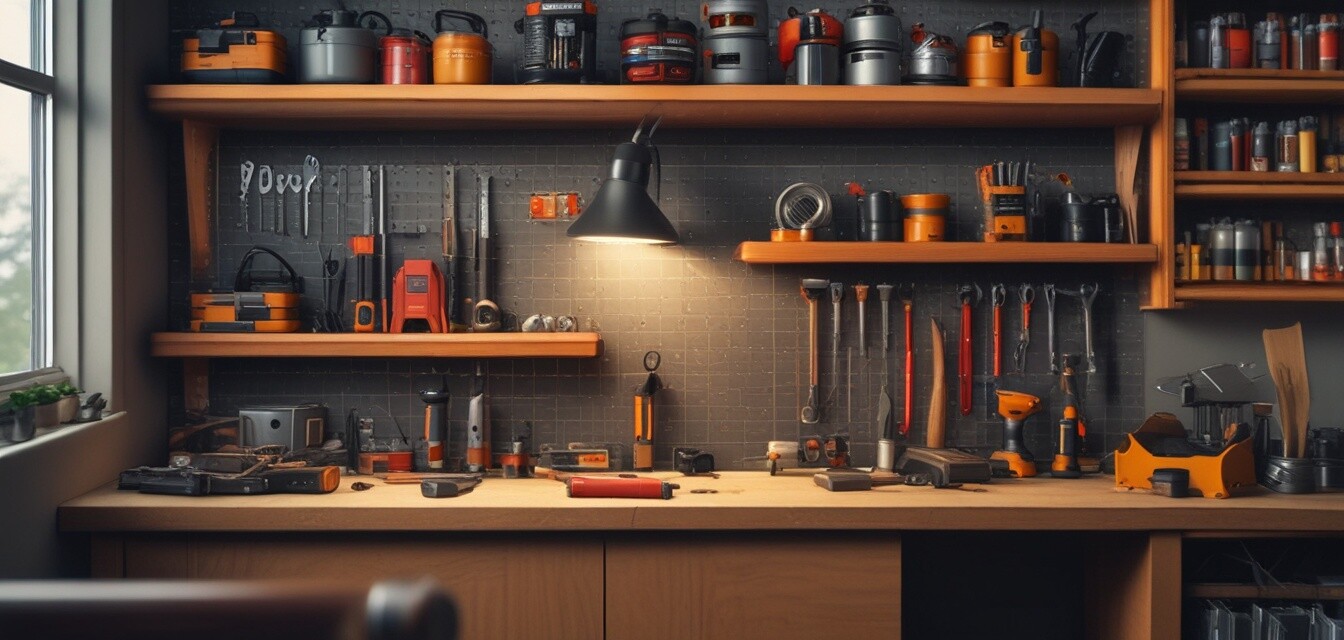
Step 3: Layout and Organization
An organized workspace is crucial for efficiency. Here are some tips on how to lay out your workshop:
- Workbench placement: Position your workbench near power outlets and natural light.
- Shelving: Install shelves for easy access to tools and materials.
- Tool storage: Use pegboards, bins, and cabinets to keep your tools organized.
Step 4: Safety Measures
Keeping safety in mind is essential when working with power tools. Here are some basic safety tips to consider:
- Always wear appropriate safety gear like goggles and gloves.
- Keep a first aid kit readily available.
- Ensure proper ventilation to avoid inhalation of harmful fumes.
- Keep the workspace free of clutter to prevent accidents.
Step 5: Availability of Resources and Materials
Ensuring you have the right materials and resources is essential for continuous project work. Consider sourcing materials from local suppliers, referring to our buying guides for tips on finding quality resources.
Tips for Creating a Functional Workshop
- Set goals for your workshop's output and functionality.
- Incorporate multi-functional furniture to save space.
- Develop a regular cleaning and maintenance schedule for your tools.
- Create a project storage area to keep ongoing projects organized.
Step 6: Personalize Your Space
Finally, adding personal touches can create an inviting atmosphere. Hang tool-themed art, display your completed projects, or integrate a small speaker for music. These elements foster creativity and make your workshop a pleasant place to work.
Conclusion
Setting up a DIY workshop is a rewarding endeavor that enhances your DIY skill set. With careful planning and the right tools, you can create a functional and enjoyable space for all your crafting and repair needs. Remember to regularly assess your workshop for improvements and adapt as your skills evolve.
Pros
- Enhanced creativity and skill development.
- A personalized space for various projects.
- Increased work efficiency and organization.
Cons
- Initial investment in tools and equipment can be high.
- Requires maintenance to keep the workshop functional.