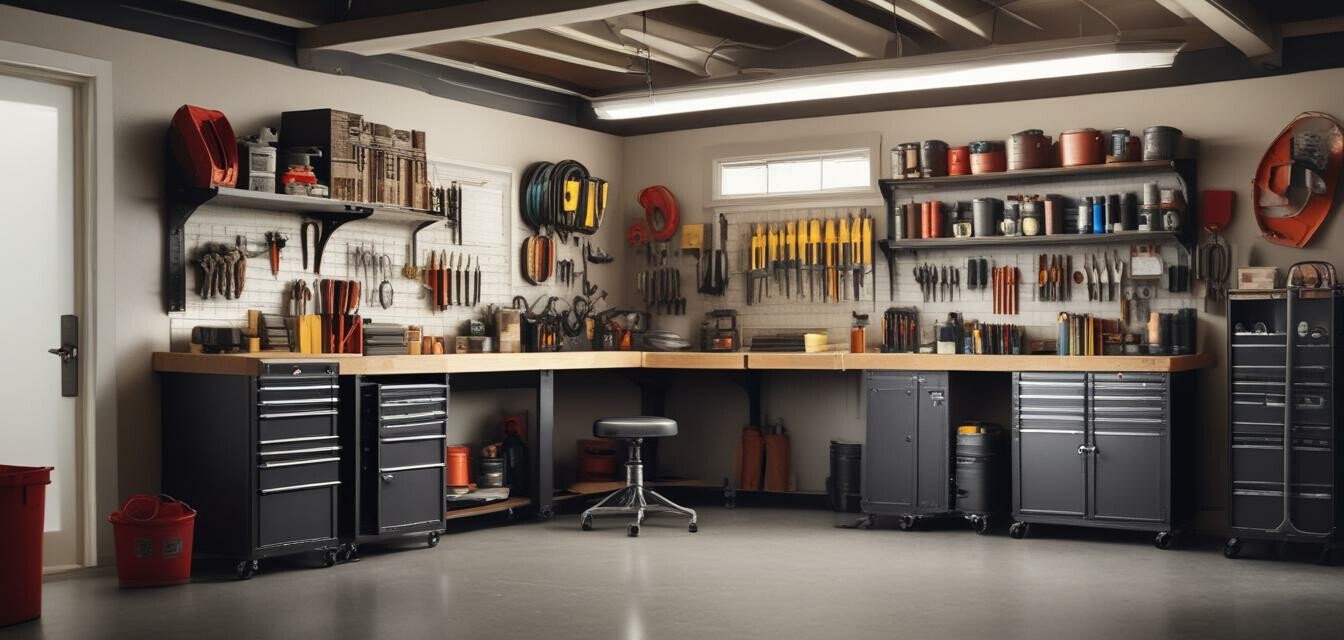
Step-by-Step Guide to Creating Custom Tool Storage
Key Takeaways
- Assess your storage needs and available space.
- Choose materials that suit your tools and environment.
- Plan your layout for maximum efficiency and accessibility.
- Consider safety and functionality in your design.
- Utilize various storage solutions like shelves, bins, and pegboards.
Building a custom tool storage solution is a game changer for DIY enthusiasts and contractors alike. With the right organization, you can access your tools easily, save time on projects, and maintain safety in your workspace. This guide will take you through a step-by-step process to create a tailored storage solution that works for you.
Step 1: Assess your tools and space
Before you begin construction, you need to take a good look at the tools you own and the space you have available. Take the following steps:
- List all your tools and their sizes.
- Identify the space where you plan to create your storage. Measure the dimensions carefully.
- Determine if you want an enclosed storage option or an open shelving system.
Step 2: Design your storage layout
Now that you know what you're working with, it's time to design your storage setup. Use graph paper or design software to map out your layout. Here are a few layout tips:
- Keep frequently used tools at eye level.
- Group tools by type or usage to streamline your workflow.
- Ensure there's enough space to move around without obstruction.
Example Layout Ideas
| Layout Style | Description |
|---|---|
| Wall-mounted Pegboard | Ideal for small spaces; provides easy access to hand tools. |
| Cabinet Storage | Great for protecting tools from dust; provides an organized appearance. |
| Mobile Tool Cart | Allows flexibility as you can move your tools where you need them. |
Step 3: Choose your materials
The material you select will depend on your budget and the look you want to achieve:
- Plywood: Durable and easy to work with; great for shelves and cabinets.
- Metal: Perfect for heavy-duty storage; provides long-lasting solutions.
- Plastic bins: Versatile and can be color-coded for easier organization.
Step 4: Build your storage solution
It's time to get hands-on! Follow your design plan and consider the following best practices:
- Wear safety gear while working, especially goggles and gloves.
- Use the right tools for the job to ensure clean cuts and stable structures.
- Double-check measurements before cutting any materials.
Safety tips
Safety Tips
- Always work in a well-ventilated area.
- Keep your workspace organized to avoid accidents.
- Store hazardous materials securely and out of reach.
Step 5: Organize your tools
Once your storage structure is built, it's time to organize your tools. Follow these tips:
- Group similar tools together for efficiency.
- Use labels on bins and shelves to maintain order.
- Review and clean your tool storage regularly to ensure everything is in its place.
Conclusion
Creating a custom tool storage solution is not just about functionality; it’s an essential part of working efficiently. With a well-organized space, you can transform your DIY projects and make your work life much easier. For more information on tools and organization, check out our Buying Guides.
Pros
- Maximized efficiency with tools easily accessible.
- Enhanced safety with organized storage.
- Customizable layouts to fit any space.
Cons
- Initial setup can be time-consuming.
- Requires investment in materials and tools.
Using the steps in this guide, you can master tool storage and optimize your workspace. Don't forget to explore more guides on our How-To Guides page for useful tips and tricks!
